Creating a Resource Group assumes that you already have an Azure account and know how to log into the portal, and that you have already created a Subscription. If you have not created a Subscription, check out this appendix entry to learn how.
Step 1 - Navigate to the Resource Group resource page
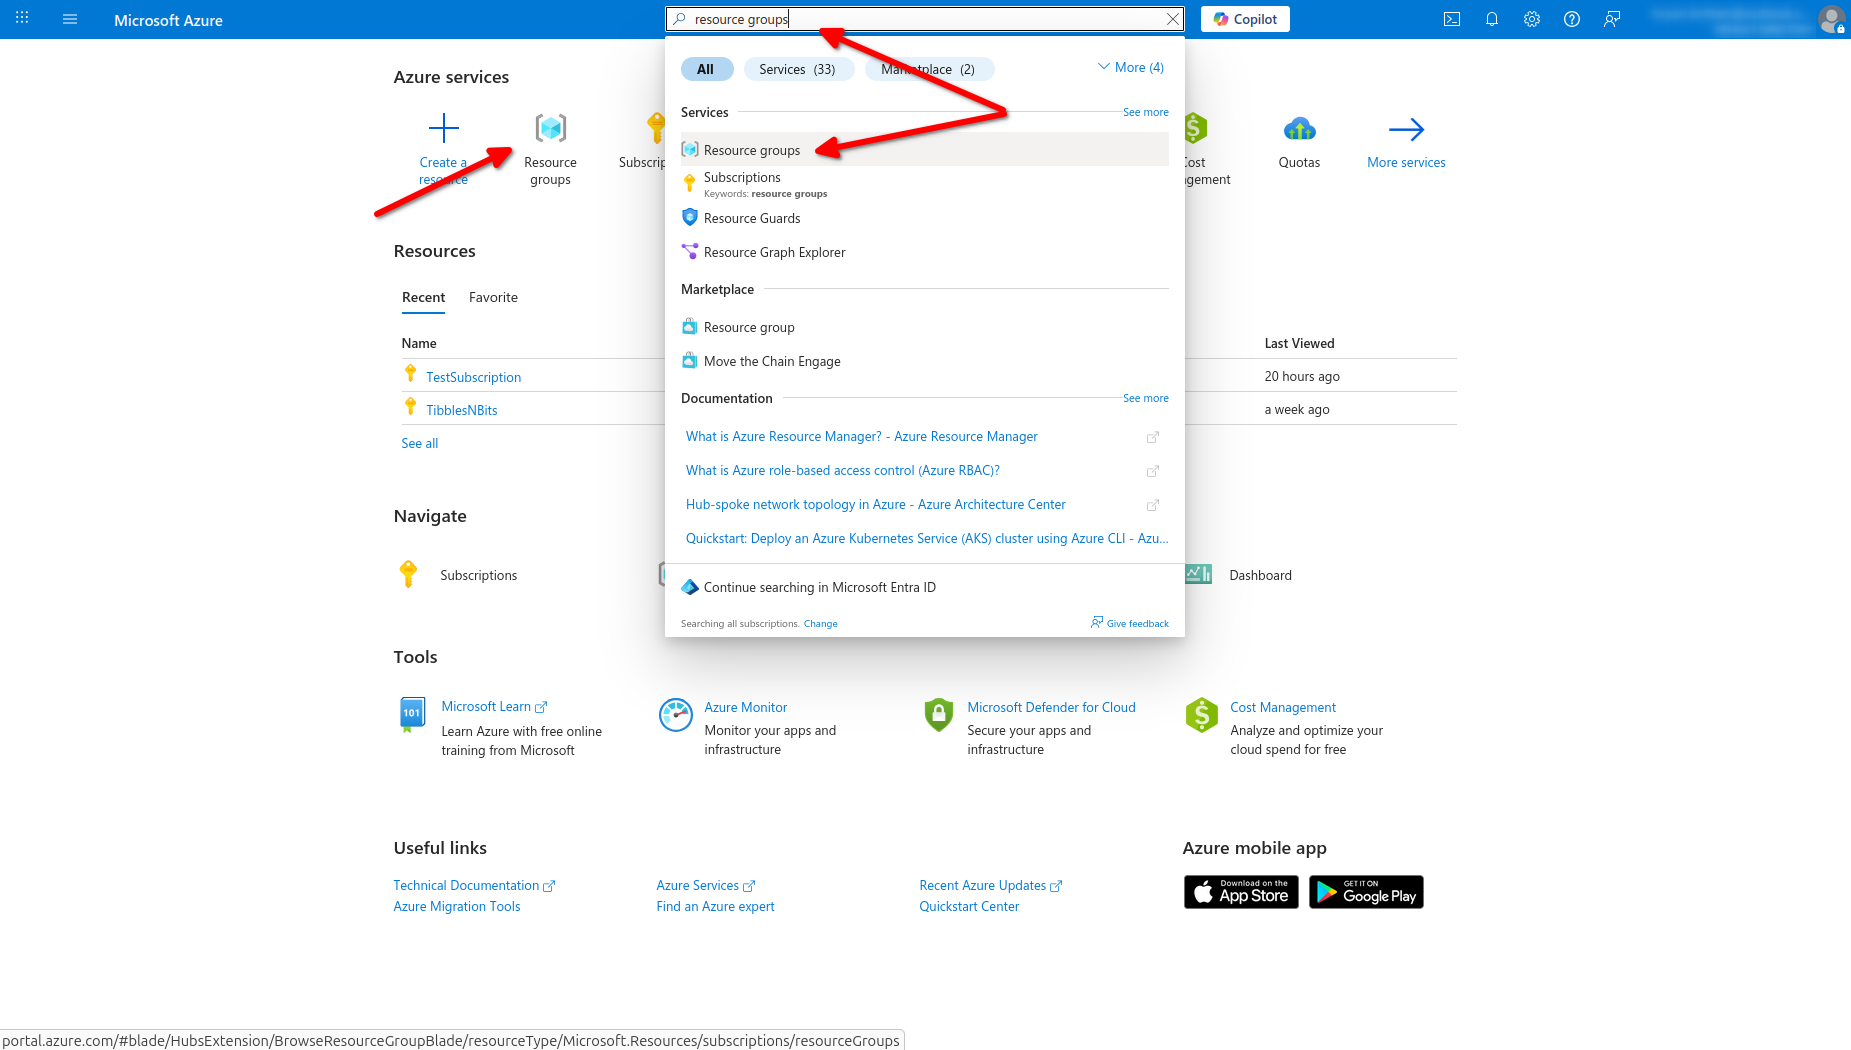
Search for “research group” in the search bar at the top of the screen and select the option that has an icon that looks like a blue cube in a set of gray brackets next to it. This will take you to the Resource Group resource page. Alternatively, the Resource Group icon may automatically appear under the “Azure services” heading on the Azure portal landing page, as can be seen in the screenshot below. Clicking this icon will also take you to the Resource Group resource page.
Step 2 - Add a new Resource Group
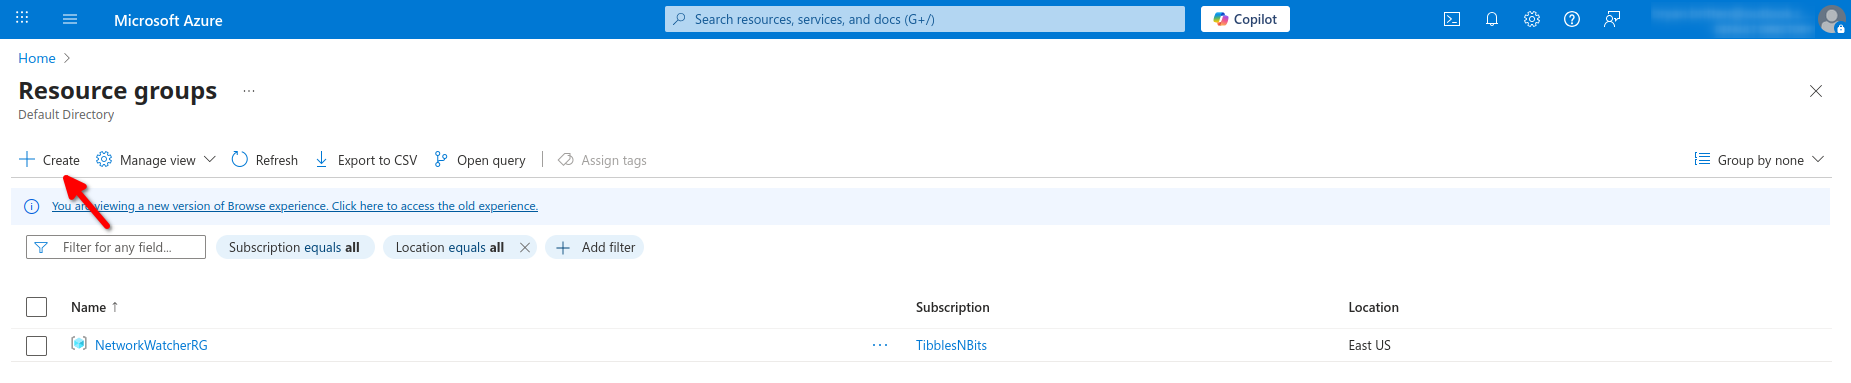
Once on the Resource Group resource page, click the “Create” button towards the top-left of the screen.
Step 3 - Fill out the baseline information
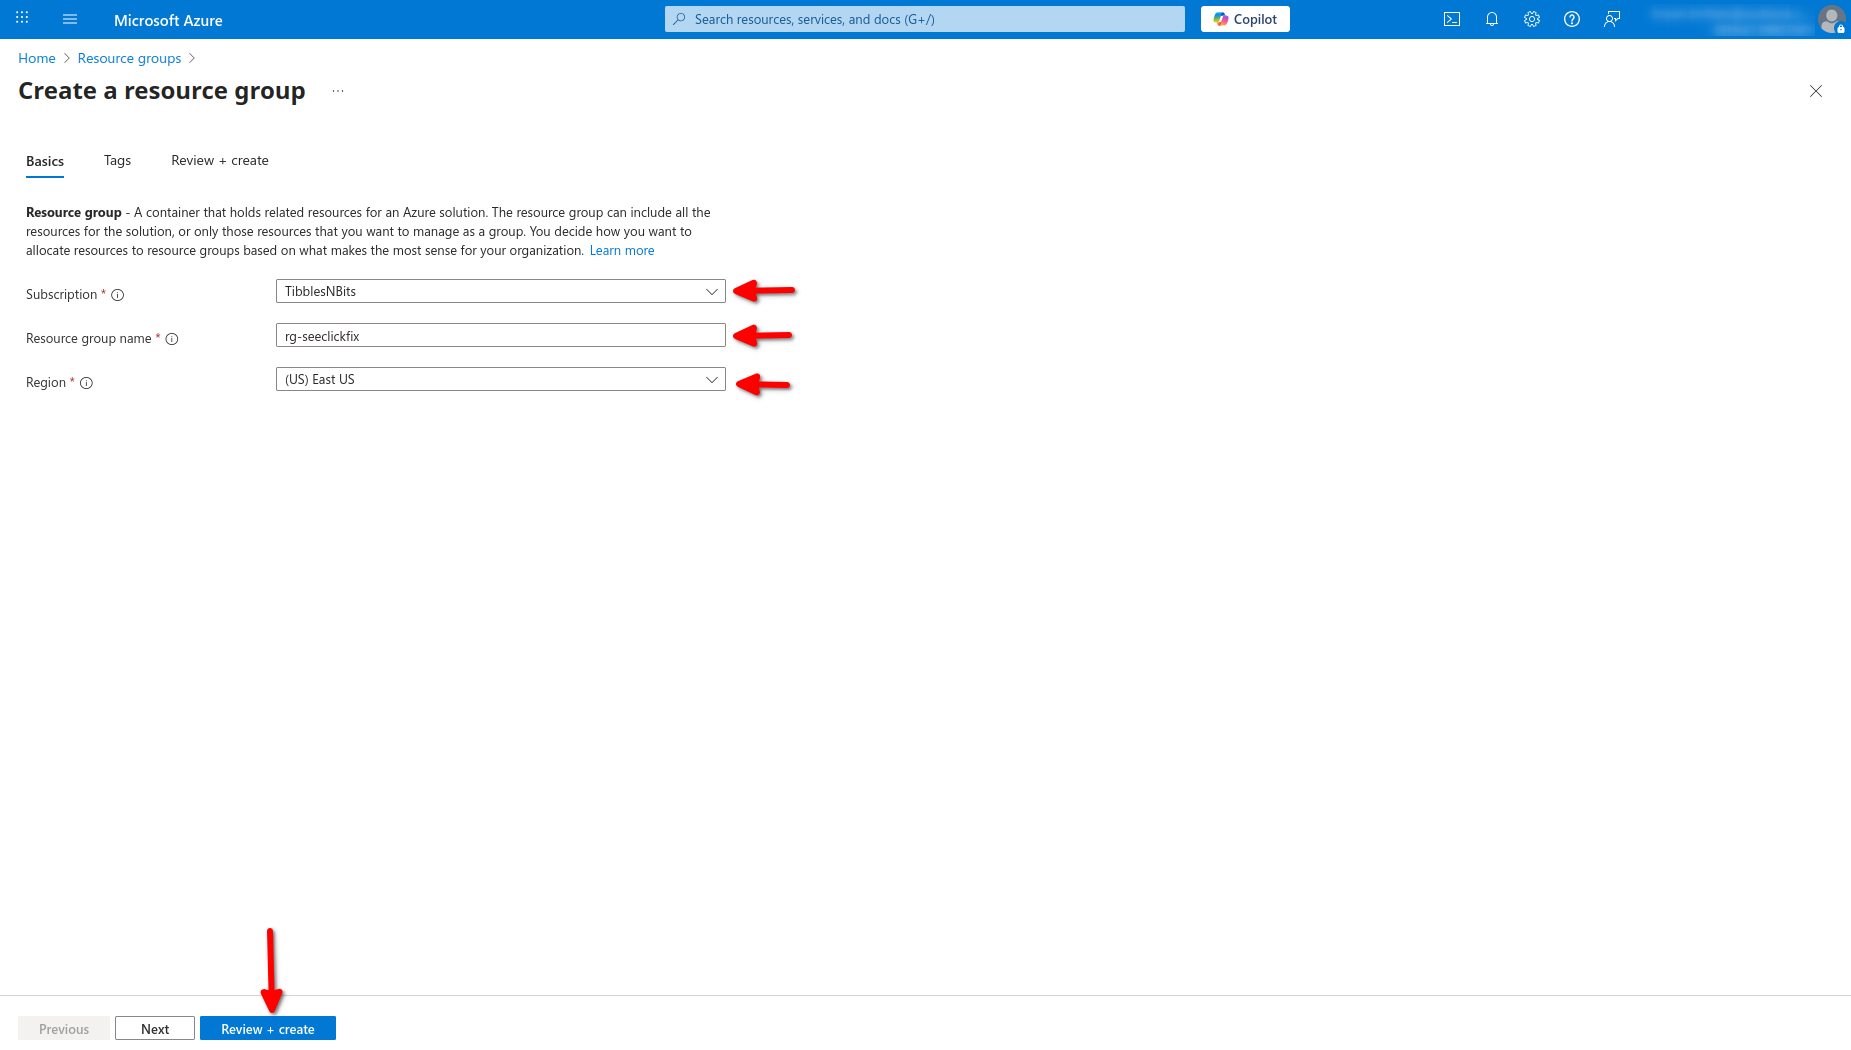
A Resource Group needs three pieces of information: a subscription, a name, and the region where it should exist. The subscription field can point to any Subscription you want, but the Subscription must exist already before this step. For the name, I recommend following a format like rg-[projectname]-[env]-[region] where -[env]-[region] can be omitted if you prefer. For the region, you can choose whichever region is closest to you.
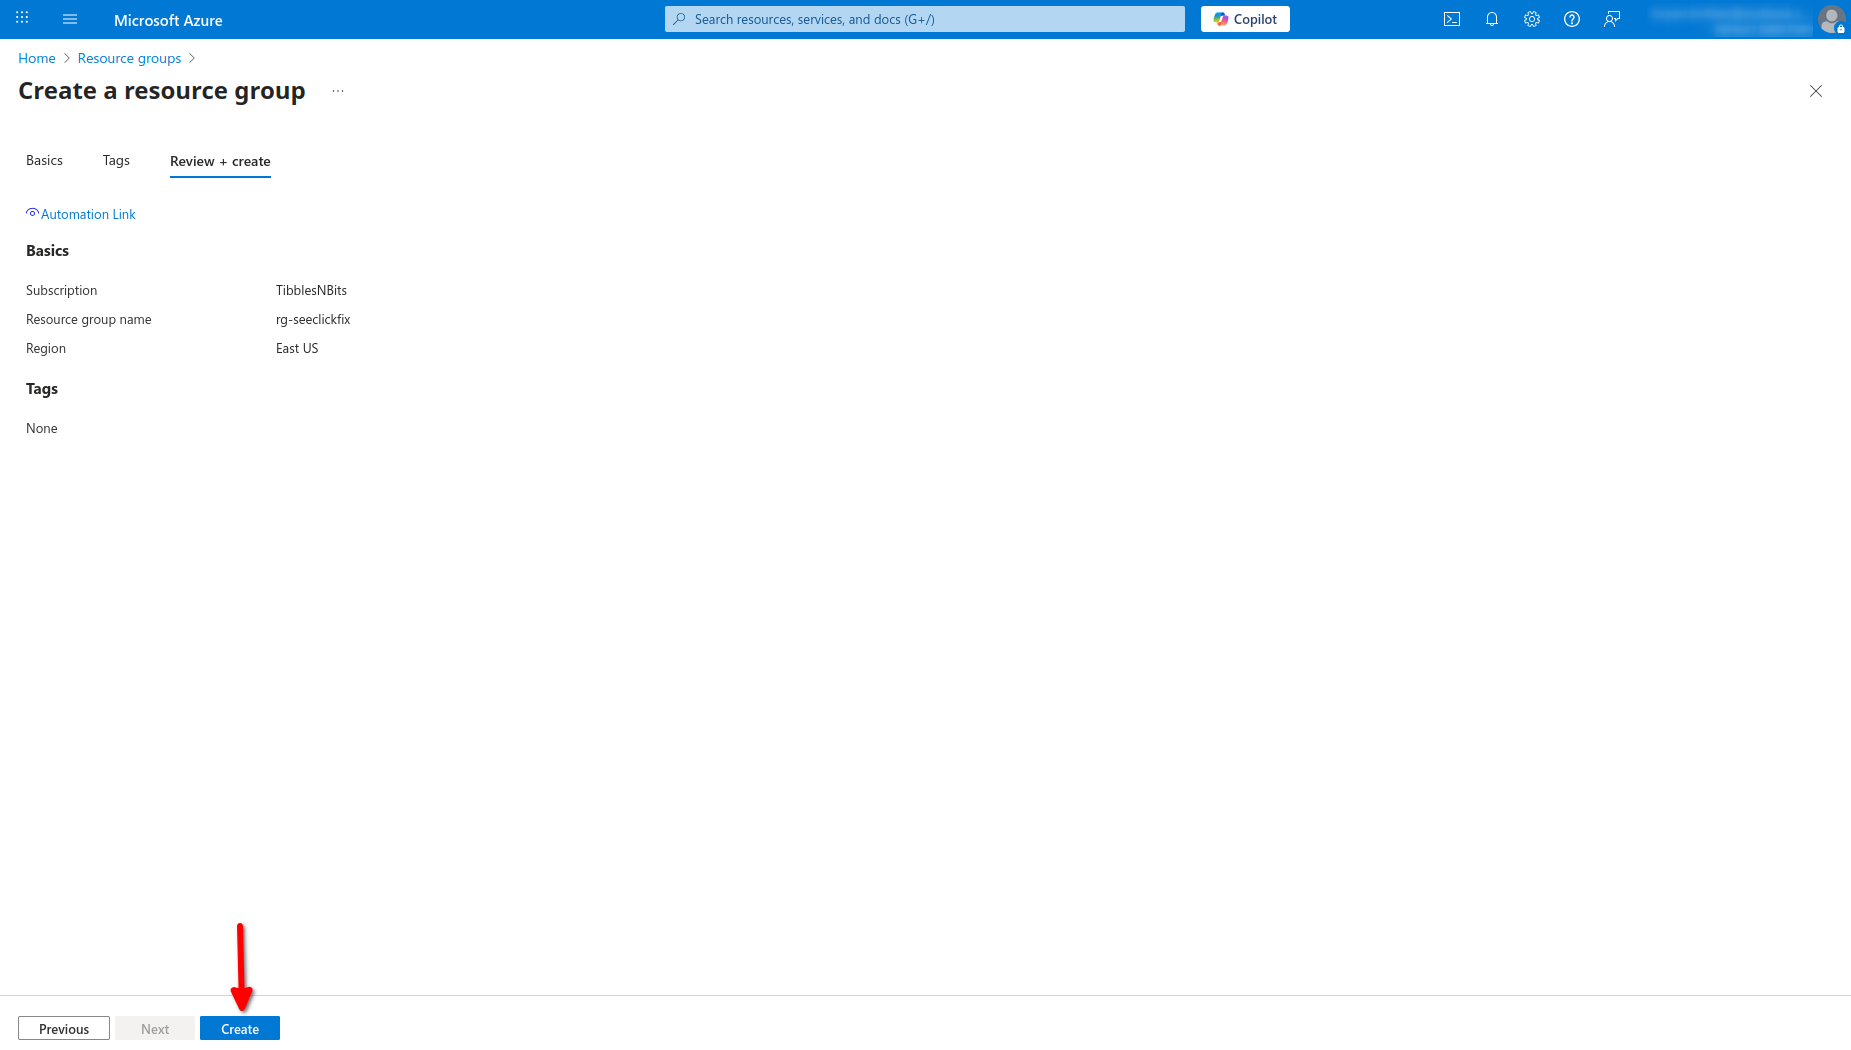
Step 4 - Confirm settings
Once you’ve provided the three pieces of necessary information, click the “Review + create” button. This will take you to a screen where you can confirm your settings. Assuming it all looks right, click the “Create” button at the bottom of the screen.
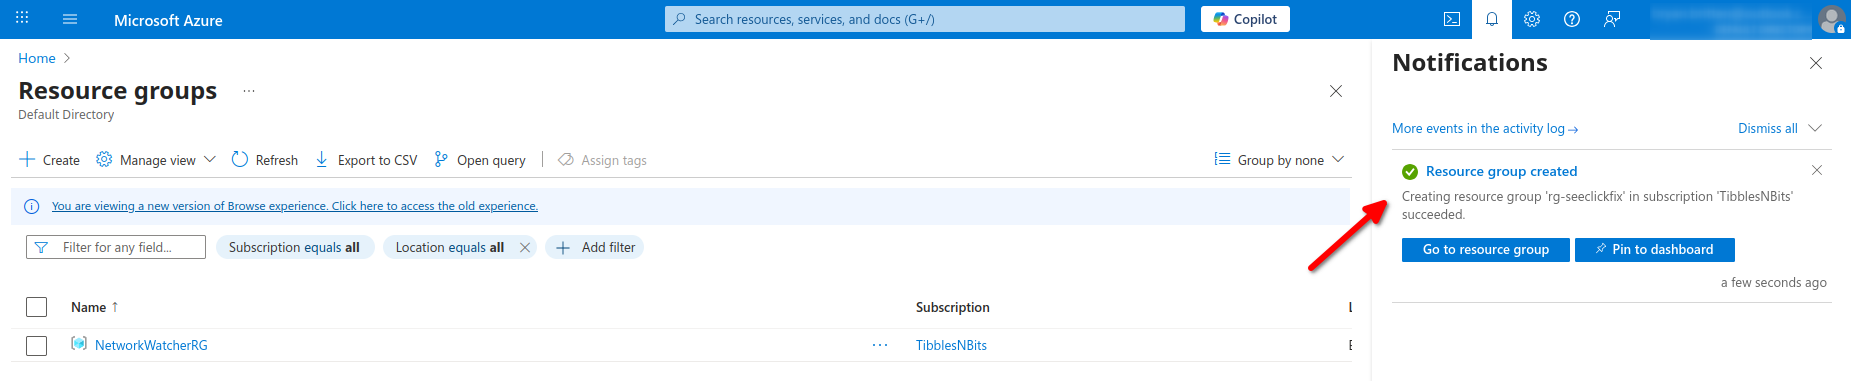
Assuming all went well, you should be redirected back to the Resource Group landing page and have a notification that the Resource Group was successfully created. Give it just a minute to propogate and you should be able to start working with your new Resource Group.