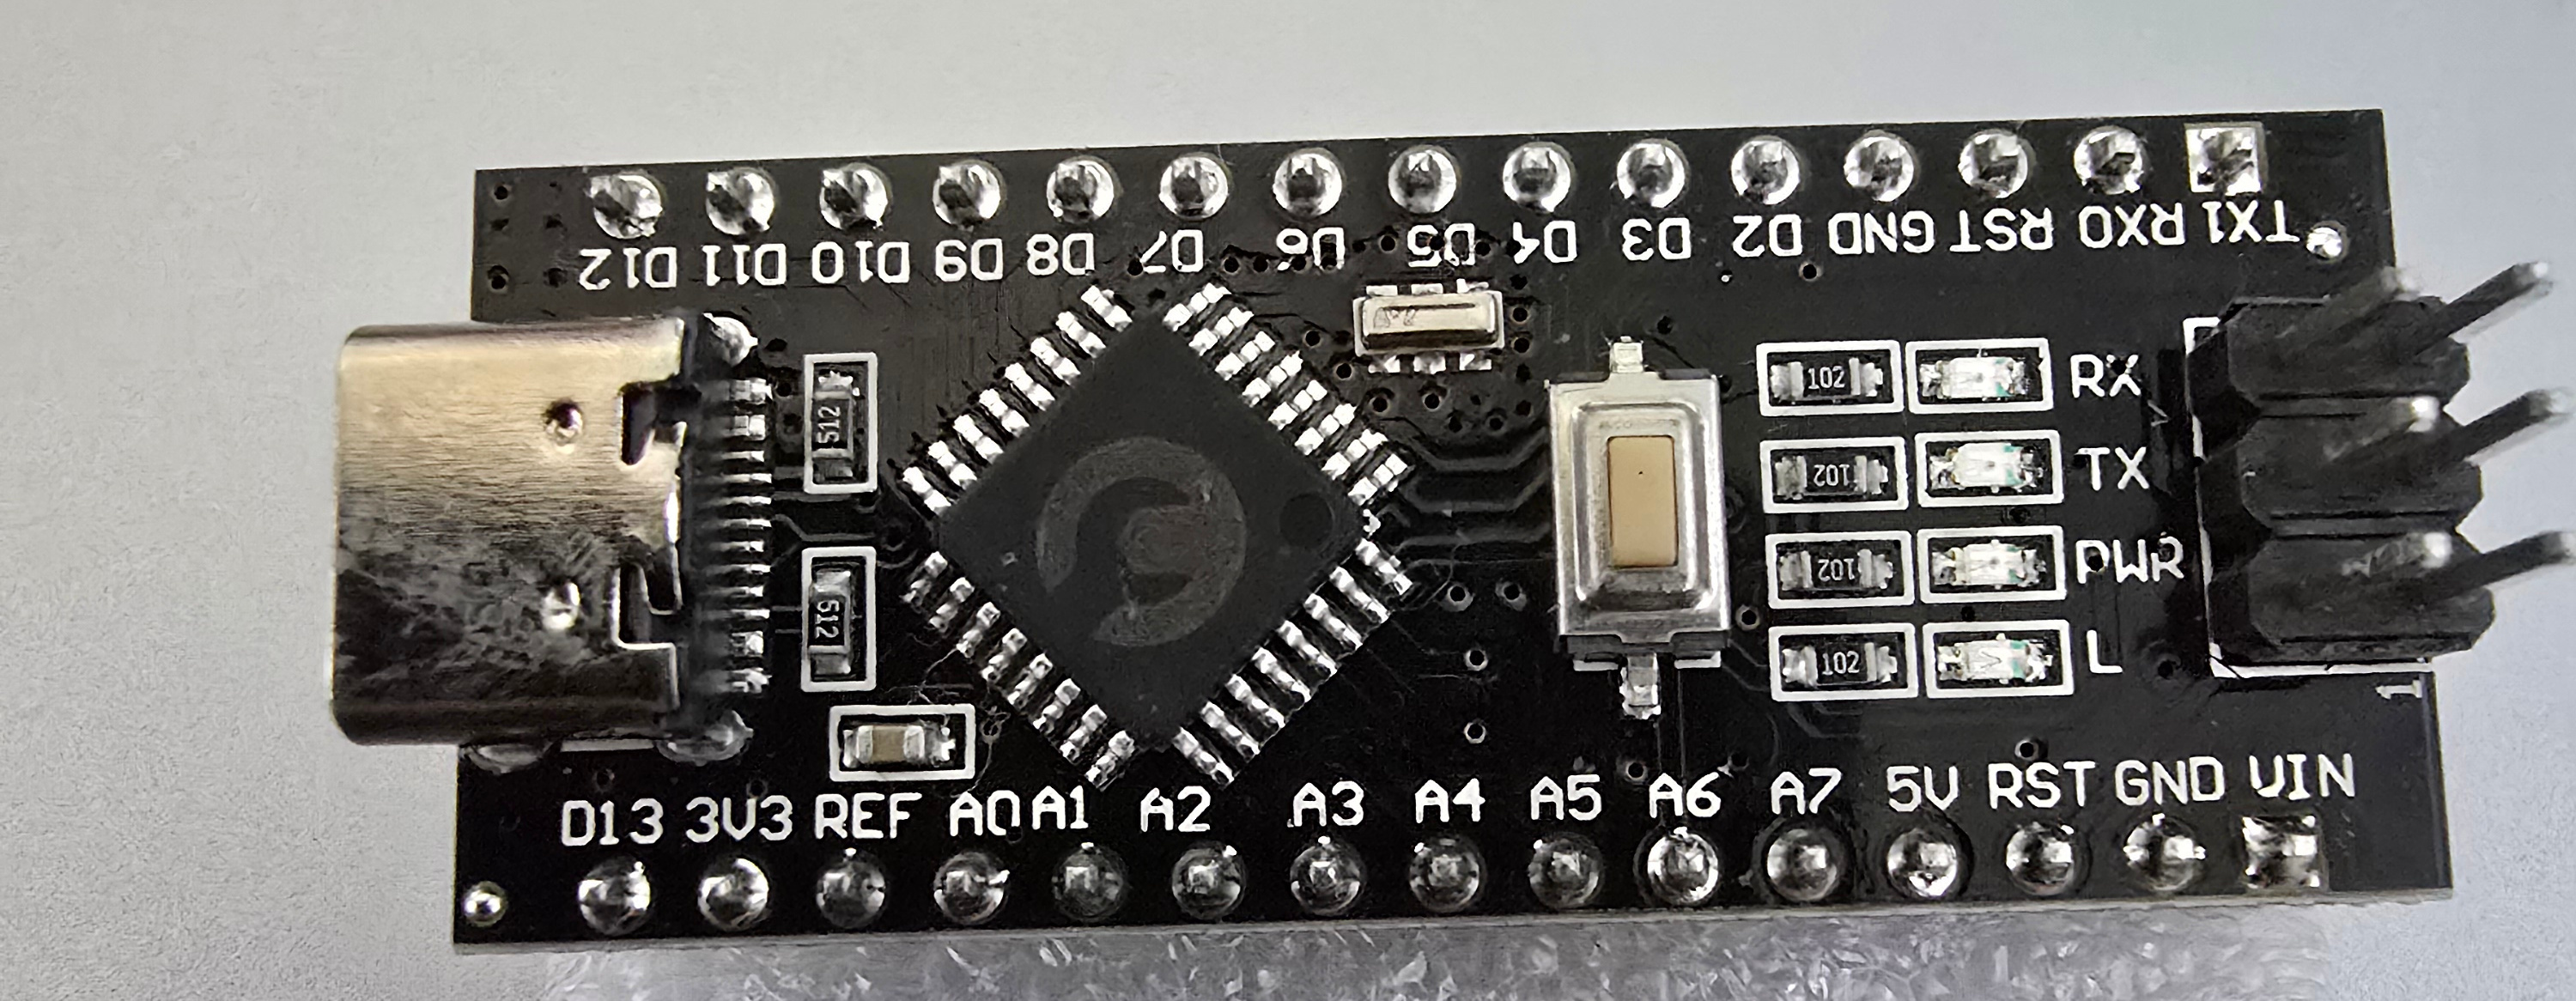
For my inaugural post in my path to learn embedded engineering, I thought I would follow tradition and begin with a “Hello, World!” program. The chip I used is an ATmega328p as I had a couple of Arduino Nano boards from the CrunchLabs Hack Pack lying around.
Now, because I’m brand new to all of this, I obviously didn’t know that what I had was an ATmega328p chip. In fact, I didn’t even know the difference between a “board”, a “chip”, a “microcontroller”, and an “integrated circuit”, which meant there was a lot of Googling and chatting with ChatGPT that took place before this post became possible. But now that I knew what I was dealing with, I was able to start working my way towards writing my first program.
Let’s start with the program that I wrote.
#include <avr/io.h>
#include <util/delay.h>
#include <string.h>

#define UNIT 300
#define LED_ON()  (PORTB |= (1 << PB5))
#define LED_OFF() (PORTB &= ~(1 << PB5))

int main(void) {
    // '.' = dit, '-' = dah, ' ' = space between letters, '/' = space between words
    const char helloWorldMorseCode[49] = ".... . .-.. .-.. ---/.-- --- .-. .-.. -..";
    DDRB |= (1 << PB5);

    while (1) {
        for (int i=0; i < strlen(helloWorldMorseCode); i++) {
            char c = helloWorldMorseCode[i];
            switch (c) {
                case '.':
                    LED_ON();
                    _delay_ms(UNIT);
                    LED_OFF();
                    _delay_ms(UNIT);
                    break;
                case '-':
                    LED_ON();
                    _delay_ms(UNIT * 3);
                    LED_OFF();
                    _delay_ms(UNIT);
                    break;
                case ' ':
                    _delay_ms(UNIT * 2); // already off for 1 UNIT from previous character
                    break;
                case '/':
                    _delay_ms(UNIT * 6); // already off for 1 UNIT from previous character
                default:
                    _delay_ms(UNIT);
                    break;
            }
        }

        _delay_ms(UNIT * 7); // pause before staring the message again
    }
}
Identifying the LED
Jumping into main, the first line that sparked a rabbit hole was DDRB |= (1 << PB5);. This line of code introduced me to the concept of how GPIO pins are managed by a hardware register set, and these groupings of pins are refered to as “Ports”. Each Port controls up to 8 physical pins, and they are controlled with the following registers:
- DDRx (Data Direction Register) - Sets a pin as an input or output
- PORTx - Output data
- PINx - Input data
I haven’t been able to figure out when PINx is the right tool to use, but in this program I was able to use DDRB to specify that PB5 should be an output, and PORTB to directly interact with PB5 setting it HIGH or LOW. However, this does still leave two outstanding questions: what is PB5 and how do I know that’s the pin I want to interact with?
The answer to the second question can be answered by Googling the specs for the Arduino Nano board. On the Arduino Nano website, there is a link to a Pinout PDF and in that document I was able to see that there are two references to PB5. One is at the bottom of the diagram and is attached to the LED_BUILTIN. The second reference is at the top-left side of the diagram attached to D13. According to ChatGPT, the D13 pin and the LED_BUILTIN are electrically connected, so setting PB5 to HIGH affects both D13 and LED_BUILTIN. This means that I should be able to connect an external LED to D13 and see it blink the same “Hello World” message in Morse code, but I have not tested that yet.
The answer to the second question can be answered by looking into the header files that are included in this program. The avr/io.h file includes the avr/portpins.h file where PB5 is defined. You can review the file here if you’re curious. Spoiler alert: PB5 is just a macro that expands to the number 5.
Using Bit Operators
The only other part of this code that is relatively new to me but is a basic requirement in embedded engineering is bitwise operators. There are four operators that I made use of in this program, which include:
<<- Shift left: This operator takes an initial value in binary format and then, for all intents and purposes, adds a specificed number of zeroes behind that value. If this causes there to be a larger number of bits than space allows (e.g. shifting a 3-bit number left 6 bits in an 8-bit space) then bits fall off.|- Bitwise OR: Goes bit by bit and sets the output bit in positionito 1 if either of the input bits at positioniis equal to 1. In the code above, when I setDDRB |= (1 << PB5), the code first computes(1 << PB5), which results in0b00100000. It then does a binary OR comparison betweenDDRBand0b00100000. SinceDDRBis initialized as0b00000000, the only bit that gets flipped is bit 5 (index 6). It then setsDDRBequal to the new value, which is0b00100000.~- Bitwise NOT: Given a binary number, binary negation will flip each bit to its opposite. For example,0b10100011would be come0b01011100.&- Bitwise AND: Goes bit by bit sets the output bit in positionito 1 if both of the input bits at positioniis equal to 1. In the code above, this bitwise operator is used in conjunction with the binary NOT operator to setPB5to LOW.
Setting a pin to LOW can be a bit confusing given the use of two binary operators, so I’m leaving this here as a reminder to myself in the future. The first step is to calculate (1 << PB5), which we’ve already seen is 0b00100000. The next step is to negate that number, which gives an output of 0b11011111. Now, given that PORTB, at any given time when my program calls LED_OFF(), will be equal to 0b00100000, using the bitwise AND will compare 0b11011111 and 0b00100000 resulting in 0b00000000.
The Rest of the Code
The rest of the code is basic C and simply takes a pre-defined string that represents “Hello World” in Morse code, loops over it character by characters, and turns the LED on or off for specified duration dependent on the character. Here it is in all of its glory.
Behind the Scenes
In order to get this code to work and get it flashed onto my ATmega328p board, I needed to install a few things. Namely, I needed the AVR toolkit. This can be installed on Ubuntu 24.04 with sudo apt install gcc-avr binutils-avr avr-libc gdb-avr avrdude -y. Now, on my machine, this resulted in version 7.3 of avr-gcc getting installed, but according to the GitHub releases page, it should be version 14.1.0. Because this was such a simple project, I didn’t mind working with the outdated version, but getting my toolkit up to date is on my to do list.
As for compiling the code and getting it onto my chip, I wrote a Makefile to handle the operations.
# Build and flash main2.c to an ATmega328P

all: main.hex

main.elf: main.c
	avr-gcc -mmcu=atmega328p -DF_CPU=16000000UL -Os -std=c99 -o main.elf main.c

main.hex: main.elf
	avr-objcopy -O ihex -R .eeprom main.elf main.hex

flash: main.hex
	avrdude -c arduino -p m328p -P /dev/ttyUSB0 -b 115200 -U flash:w:main.hex

clean:
	rm -f main.elf main.hex
Once I had that, it was as simple as running make flashto get the program running.
Profiling and Improvement
There is one more thing I want to touch on in this post that I learned as part of this process, which is optimizing for memory. I was first turned on to this concept by a LinkedIn Learning course C Programming for Embedded Applications. To start, I looked at how my data was being stored in RAM vs ROM by using avr-size.
$ avr-size -C --mcu=atmega328p main.elf
AVR Memory Usage
----------------
Device: atmega328p

Program:     426 bytes (1.3% Full)
(.text + .data + .bootloader)

Data:         50 bytes (2.4% Full)
(.data + .bss + .noinit)
From this, we can see two sections: Program and Data. The Program section tells us how much data is being stored in ROM, and the Data section tells us how much data is being stored in RAM. From what I gathered from that LinkedIn course I took, it’s better to have your data stored in ROM if possible. This is what led to me implementing main2.c.
#include <avr/io.h>
#include <util/delay.h>
#include <avr/pgmspace.h>
#include <string.h>

#define UNIT 200
#define LED_ON()  (PORTB |= (1 << PB5))
#define LED_OFF() (PORTB &= ~(1 << PB5))

const char helloWorldMorseCode[] PROGMEM = ".... . .-.. .-.. ---/.-- --- .-. .-.. -..";

int main(void) {
    DDRB |= (1 << PB5);

    uint8_t i = 0;
    char c;
    while (1) {
        while ((c = pgm_read_byte(&helloWorldMorseCode[i++])) != '\0') {
            switch (c) {
                case '.':
                    LED_ON();
                    _delay_ms(UNIT);
                    LED_OFF();
                    _delay_ms(UNIT);
                    break;
                case '-':
                    LED_ON();
                    _delay_ms(3 * UNIT);
                    LED_OFF();
                    _delay_ms(UNIT);
                    break;
                case ' ':
                    _delay_ms(2 * UNIT);
                    break;
                case '/':
                    _delay_ms(6 * UNIT);
                    break;
            }
        }
        i = 0; // restart the message
        _delay_ms(7 * UNIT);
    }
}
By adding PROGMEM towards the end of const char hellowWorldMorseCode and then using pgm_read_byte, you can see the impact this has on how the data is stored after reflashing the chip.
$ avr-size -C --mcu=atmega328p main.elf
AVR Memory Usage
----------------
Device: atmega328p

Program:     330 bytes (1.0% Full)
(.text + .data + .bootloader)

Data:          0 bytes (0.0% Full)
(.data + .bss + .noinit)
Now there is no data being stored in RAM and the amount of data stored in RAM down to 0 and even reduced the amount of data in ROM by 96 bytes. ChatGPT tells me that this is because the code needed to copy the data from ROM to RAM is no longer needed and is thus omitted. That’s something I plan on digging into at a later date to better understand.
But that’s it. My first embedded project, which was to take the typical “make an LED blink” and expand it into a more traditional “Hello, World!” type project. It allowed me to get my AVR toolkit set up, explore using a Makefile for automating the compilation of ocde, get more familiar with bitwise operators, learn how to use pinout and datasheets to familiarize myself with a board and chip, and get experience profiling and optimizing code.